Showing posts with label brunch. Show all posts

Monday, January 30, 2012

Baked Oatmeal Cups

I’m sure you’ve all heard the old adage “Breakfast is the most important meal of the day.” For most of my life, I ate little or nothing for breakfast, especially when I was in college and couldn’t be bothered to drag my butt out of bed and to the dining hall early in the morning. As I got older, and especially now that I’m a regular working stiff, I can’t possibly make it through the morning without eating something substantial. However, this is tempered by the fact that I am still a lazy bum and want my breakfast to take as little time as possible. Usually I eat cereal with bananas, but in the winter it’s always comforting and satisfying to eat something hot. These baked oatmeal cups can be stored in the fridge and/or freezer, allowing you to make a big batch ahead of time and pull one out each morning. They are best served warm and are a great way to start the day!

Baked Oatmeal Cups (adapted from here)

What You’ll Need

  • 3 eggs
  • 2 ½ cups skim milk
  • 1 cup unsweetened applesauce
  • 1 banana, sliced
  • 1 tbsp vanilla extract
  • 5 cups old fashioned oats
  • 1 cup brown sugar, packed
  • 3 tsp baking powder
  • 1 tbsp cinnamon
  • 1 tsp salt
  • 1 cup fresh/frozen fruit or chocolate chips

IMG_2792

What To Do

Preheat your oven to 350°F. In a large bowl, combine the eggs, applesauce, and vanilla.

IMG_2793

After these are well-blended, add the brown sugar and banana. If you are using another fruit as your filling, add it at this step. If you are using chocolate chips, add them last.

IMG_2794

Mix until the sugar is uniformly combined with the egg mixture. I will say that it seemed odd to me to leave the bananas in slices, but the original recipe did not call for them to get mashed or otherwise worked into the liquid, so I left them as is. The final product tasted great so I think this is more of a personal preference than anything, but I will probably mash them the next time around.

In a separate large bowl, mix the oats, baking powder, cinnamon, and salt.

(I forgot to take a picture. It looked suspiciously like oats in a bowl.)

Add the wet mixture to the dry mixture, and stir until blended. Add your chocolate chips if you are using them.

IMG_2795

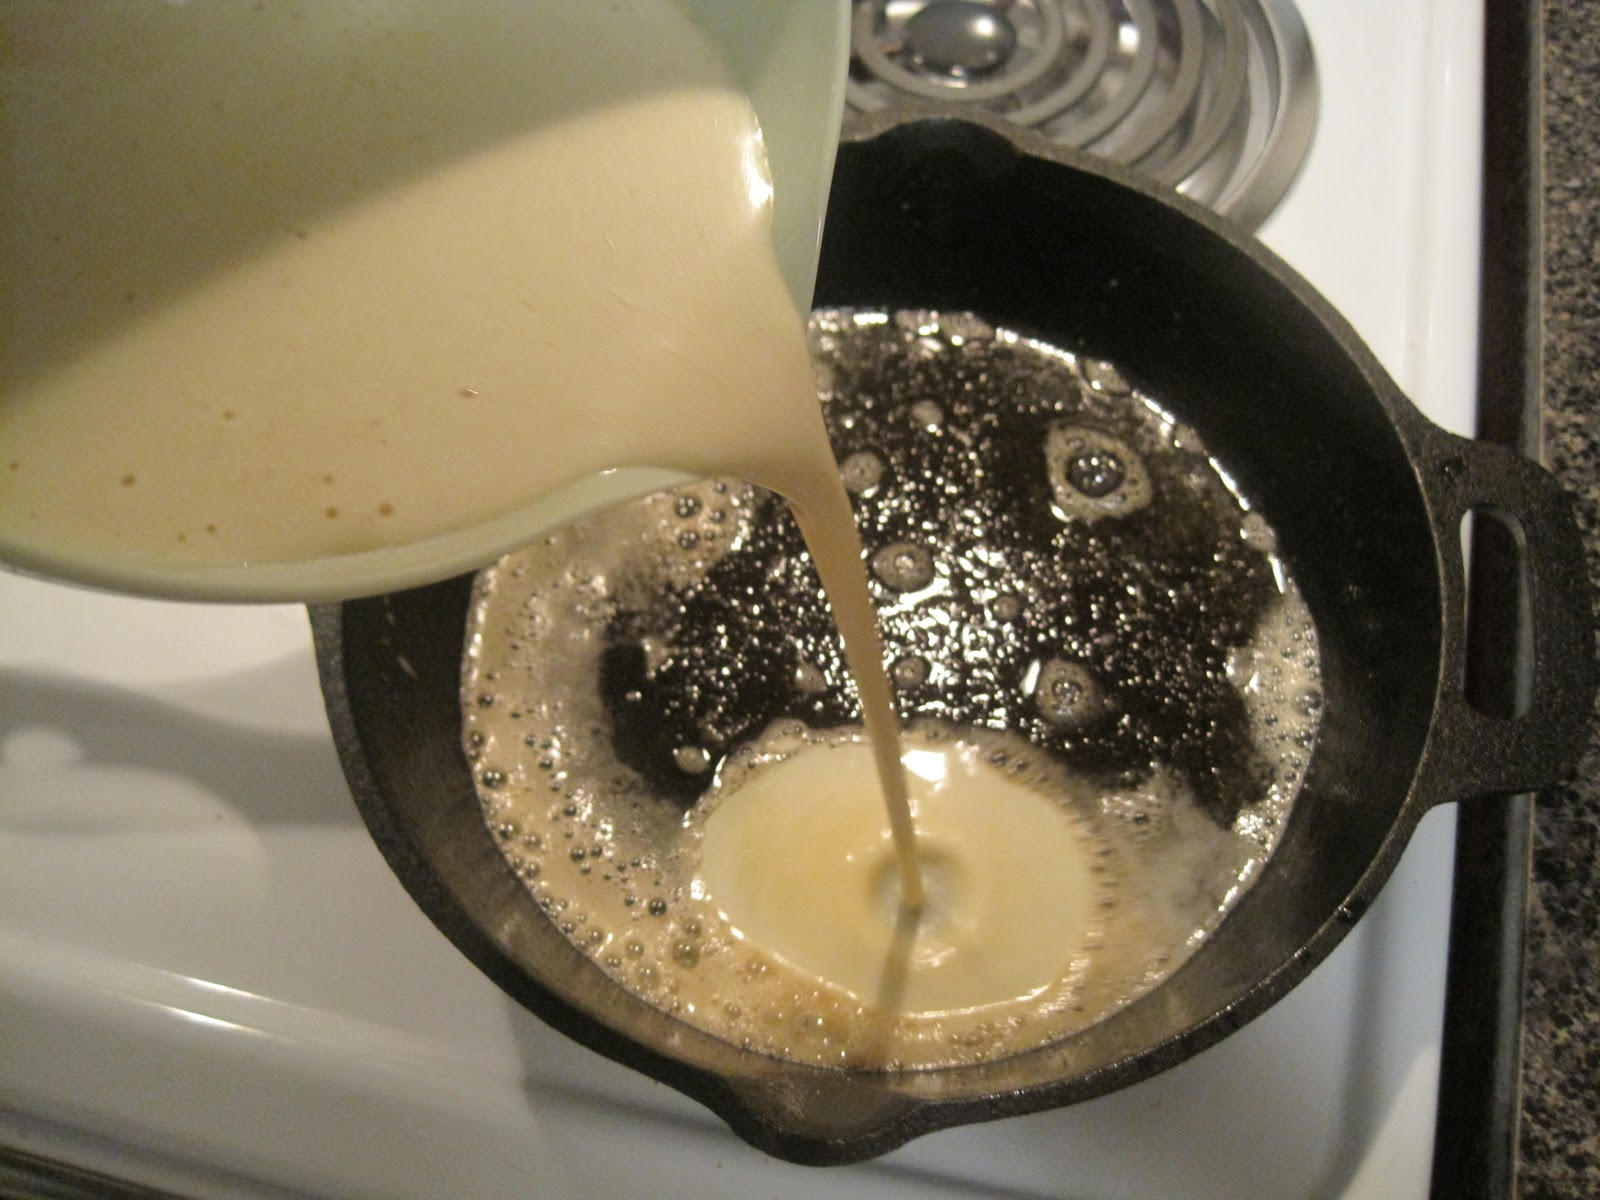
The original recipe tells you to add the milk AFTER you have mixed the wet and dry ingredients together. I completely glossed over the fact that milk was not included in the list of wet ingredients, and had added it when making the egg mixture. I don’t think it made a lick of difference.

Spray 2 12-cup muffin tins with cooking spray, or line with cupcake liners. Note: the original recipe also tells you this makes 18 muffins, which is a dirty lie. I used a 6-cup and a 12-cup muffin tin and had a bunch left over, so go with the 24 cup total. Scoop the mixture evenly into the cups, and bake for 35-40 minutes.

IMG_2796

The muffins are done when a knife or toothpick inserted into the center comes out clean.  After removing from the oven, let them cool for 15-20 minutes. They may be eaten while warm or stored in the freezer in freezer bags until future use.

IMG_2798

My hubby thought these were for dessert, and honestly they could easily be a healthy dessert alternative. We had them for breakfast the morning after I made them, and they were absolutely delicious. I heated mine for 1 minute in the microwave, then topped with some vanilla almond milk, and I just about thought I’d died and gone to heaven. The one pictured in the ramekin above is about twice the size of the actual muffins (it was made from the extra mixture), and I was stuffed after eating it. I had a single muffin this morning and remained full straight through to lunchtime. It’s easy to forget that these little guys pack a potent punch of fiber because you’ll feel so decadent eating one with chocolate chips for breakfast. Next time I plan on trying these with blueberries, mango, or cranberries. Breakfast really can be exciting!

Friday, March 11, 2011

Go Bananas!

I’ve always loved bananas, even though for years all those crazy nutrition people gave them a bad rap for being starchy.  News flash: ALL FRUITS CONTAIN CARBS. Obviously, if you eat 7 bananas a day, you might get a wee bit pudgy.  But let’s be honest – eating bananas is way better than eating, say, a bacon egg and cheese sandwich. I prefer my bananas on the less ripe side, with the peels still a light yellow and no black spots.  Sometimes I get a little overenthusiastic in my banana buying and I can’t eat them quickly enough, so the dreaded black spots appear.  I now have the perfect solution – a quick, easy, and delicious banana bread that specifically calls for the mushy, overripe bananas you never want to eat plain.  This recipe was given to Eric by a customer who used to own a bakery.  When she sold it, she also sold the rights to all of her recipes except for this one. After she heard about this blog, she graciously offered to share this recipe, and I’m very glad she did – let’s all give a big shout-out of thanks to Mary!

Banana Bread

What You’ll Need

  • 3 overripe bananas, well mashed (*If using frozen bananas, use 4 [see note])
  • 2 eggs, beaten
  • 2 cups flour
  • ¾ cup sugar
  • 1 tsp salt
  • 1 tsp baking soda

*Note: If you often have extra ripe/overripe bananas laying around, stick them in the freezer until you’re ready to use them. The skins will get very dark brown, but they’re perfect for smoothies or banana bread.  When you take them out of the freezer, let them thaw on the counter for an hour. After you peel them, the banana will slide out of the skin and straight into the bowl!

IMG_1829

These offenders were purposely left to reach a mushy state for about 4 or 5 days past their prime. It got to a point where I was a)terrified of getting fruit flies (when you’ve worked in academic science labs your whole life and have experienced Drosophila fruit fly clouds migrating through the vents into your lab from another lab, you’ll understand my hatred. THEY NEVER DIE.) and b) impatient to eat some damn banana bread.

I popped them out of the peels, removed all the stringy bits, and mashed them into a thick but uniform pulp with a fork.

IMG_1830

Preheat your oven to 350°F.  While it’s getting toasty, beat the eggs in a small bowl, then add them to the bananas and mix well. Add all of the dry ingredients and mix until you have a smooth batter.  Even though I have a Kitchenaid mixer, I for some reason have made this by hand both times I’ve made it.  It’s a good workout for your upper arms, and the final product doesn’t seem to be affected by my wimpy biceps.

IMG_1831IMG_1832

Pour the batter into a greased loaf pan and bake for 1 hour, or until a toothpick inserted into the center comes out clean.  For some reason, even though we have established that my oven resides on the island of Sucktastica, the edges of my bread were almost overdone after 1 hour.  I tried 57 minutes the second time I made this and it was perfect.

IMG_1834

IMG_1854

This bread is absolutely delicious – it’s moist, chewy, and has that fabulous banana flavor that simply cannot be replicated by the fake flavoring crap used in most “banana” foods.  The original recipe suggests adding ½ cup of dark chocolate chips or chopped nuts, both of which would be great additions.  I actually like the plain version of this so much I’m hesitant to mess with it. Plus, I’ve been taking a piece to eat in the car on the way to work as my breakfast in the morning, so it feels a lot less decadent when it doesn’t contain chocolate.  I’m going to try it with the chocolate chips as a healthy alternative to dessert.  What can I say…I’m bananas for this bread!

Sunday, October 10, 2010

Ooh Baby Baby!


It was a sad, sad day in our household when the last crumbs and morsels of the Maple Apple Crisp were finally polished off.  I still had about 3 lbs of apples left over from my trip to the orchard which were begging to be put to good use.  I could have taken the healthy, responsible route and paired these with a nice pork loin, or chopped them up as a salad garnish, but where's the fun in that?!  Instead, I decided to put them together with some (in my mind) far superior ingredients - butter, brown sugar, and eggs.  Cholesterol fest, here we come!

In all reality, this recipe is not as bad for you as I'm making it sound.  The main dish combines a few eggs, some flour, and a little butter for a light and airy savory pie.  I decided to top mine with some Fuji apples (although you could really use any type) sauteed in a little butter and brown sugar. Yet again, I came up with this from an amalgamation of several similar recipes from Allrecipes.com.  For some reason, I keep referring to this as a "Dutch Baby", even though it's a German recipe and quite clearly called a "German Baby" on the recipe.  Oy.  

German Baby
What You'll Need:
Pie:
3 eggs
3/4 cup milk
3/4 cup all-purpose flour
1/2 tsp vanilla extract
1 pinch nutmeg
2 tbsp unsalted butter


Topping:
2 apples, peeled, cored and sliced
2 tbs
2 tbsp unsalted butter
1/4-1/2 cup brown sugar

What To Do:
Preheat your oven to 400F with a cast-iron skillet (or other oven-safe skillet) inside. Place the 3 eggs in a bowl of hot tap water for 5 minutes to help bring them up to room temperature.  Warm your milk in the microwave for 50 seconds on high. Beat the eggs on high speed with an electric mixer.  While blending, slowly drizzle in your milk and the flour.  Add the nutmeg and vanilla. Beat for 2 minutes, or until you have a thin batter. 


As soon as the oven is preheated, carefully remove the skillet from the oven. Trust me - it will be really fricking HOT. (Yes, I know...it's been in an oven for 10 minutes at 400F, and it's metal, of course it's going to be hot!  Tell that to my apparent lack of common sense and burned fingers.)  Add the butter, which will sizzle and smell amazing, and rotate the skillet so that all surfaces are coated. Slowly pour in your batter, which will instantly start to cook on the bottom, forming an eggy barrier between the batter and skillet.


Bake for 15-20 minutes, or until you see eggs have "poofed" like a souffle and are golden brown on top.  I'll show you what mine looked like as we go along.

While the eggs are baking, prepare your apples to be cooked.  My best friend (and future guest blogger!) Molly's mom gave me an awesome gizmo called The Apple Machine which does the peeling and coring for you:

It kind of looks like a Medieval torture device...

...but it makes pretty swirly ribbons of apple peel...
...and it does it in seconds!

Meanwhile, heat a skillet or frying pan on medium heat and add the butter.  Once the butter is melted and starting to bubble, add the brown sugar and stir until melted.  I added a few splashes of water to mine so that I would have a thinner syrup.  Bring this to a vigorous boil, then reduce the heat to a steady simmer. Add the apples to the caramelizing sugar and saute for about 5-10 minutes, or until soft to the touch. 


At this point, my German Baby was slowly rising and creeping over the edge of my skillet, resembling the Giant Blob or some other Japanese monster:


I was a little concerned because the recipe said this would rise like a souffle, which mine definitely did NOT resemble at first. I am clearly a skeptical creature, because after 5 or so more minutes, it did exactly what it was supposed to (oh me of little faith). I waited until it was about to balloon into the baking rack above it before taking it out, although half of the pie (I'm still not sure what to call this) was relatively flat. Once out of the oven, it will quickly collapse until it slightly concave and looks like a normal pie.


I served this immediately with the apples on top and a little of the syrup drizzled all over, and topped it off with a few sprinkles of confectioner's sugar.


I have to admit that while I was super excited to eat these apples (they smelled and tasted just like the ones you can get at Cracker Barrel! Don't judge - they have yummy food), I was wary of what the actual pie would taste like.  When I originally read the recipe I expected it to have a cake-like consistency, but as soon as I put it in the oven I was concerned that it would end up being an omelet with apples on top - ew. I am happy to admit that I was very wrong - this was definitely a different style of dish than I'm used to, but my husband and I both loved it!  There is a very obvious egg texture to this, but thanks to the milk and flour there is no resemblance to scrambled eggs in favor of a custard.  Even though this sounds like a dessert, it is traditionally eaten for breakfast or lunch.  The sweetness of the apples balanced the richness of the pie, but even after a healthy serving I wasn't overly full or stuffed feeling.  This would be a perfect addition to a Sunday brunch or as a light afternoon meal.  I plan on eating my leftovers for breakfast this week, even though there won't be enough apples for 5 more days.  This would also be delicious with a drizzle of maple syrup (told you I loved the stuff) or with fresh fruit sliced on top. 

If any of you decide to make this, please let me know how it turns out!  I'd love to see if anyone else gets to see some interesting bubbles and shapes like I did!