|
| Deceptively innocent, secretly devious. |
It was my husband's birthday on Wednesday, and our tradition is that the birthday boy or girl gets to pick whatever kind of cake they'd like. Since he is well aware that I now plan 97% of our meals around what I want to feature on the blog, he then took the typical Libran (read: indecisive) way out and told me to pick whatever I wanted to make. Although I had a few ideas in mind, I forced him to choose, and he opted for a spice cake with maple frosting. This is one of our favorite cake/frosting combos, but usually I make the cake with a boxed mix (don't judge). Since I am such a selfless person, I figured I could take one for the team and attempt a spice cake from scratch so that I could share my experience with my internet audience (hi, Mom and Dad). And, as I've said from day one, this blog is all about experimentation, for better or worse. This recipe started out sloppy, turned slightly disastrous, then ended fabulously. Here's how it went down:
Spice Cake with Maple Frosting
What You'll Need:
-For the cake:
2 1/3 cup all-purpose flour
1 cup white sugar (I used 1/2 cup sugar, 1/2 cup Splenda)
1 cup packed light brown sugar
1 cup buttermilk (*see note)
1 cup applesauce
3 eggs
2/3 cup unsalted butter
1 tsp baking soda
1 1/2 tsp cinnamon
3/4 tsp nutmeg
1/4 tsp ground cloves
1 tsp salt
-For the frosting:
4-5 cups confectioner's sugar
1 cup butter
2 tbsp milk
2 tsp maple extract or flavoring
*Note: If you don't have buttermilk, you can easily make your own - just add 1 tbsp lemon juice to a cup of milk and mix thoroughly. Don't worry, it won't curdle.
What To Do:
The first thing I like to do is get all of my ingredients in one place, especially when there are as many as I needed for this cake. Then, I like to read through my recipe and see what I'll have to do in each step. This information is then promptly ignored and I screw up, causing me to make things up as I go.
To wit:
Preheat the oven to 350 F; grease and flour one oblong or two 9-inch round cake pans (I used the 2 rounds and managed to not screw this part up). Next, sift together the flour, baking soda, nutmeg, cinnamon, salt. Notice how this list does NOT include white sugar? I didn't!
 |
| You can see the sugar at the top left of the bowl. I tried to scoop most of it out, but that didn't go so well. |
I proceeded to cream together the butter, brown sugar, and what was left of my white sugar/Splenda mix:
After that, add the eggs one at a time until the butter/sugar mixture thins out. So far, so good. Finally, you are supposed to mix the flour in 1/4 increments alternating with the buttermilk in 1/3 increments - flour/milk/flour/milk, etc. Did I do this? No. I apparently never learned to follow directions, as I dumped my milk in with the eggs, making the batter
very thin. Then, I dumped almost all of the flour in at one time, until I realized that something was wrong when a good amount of it puffed out and landed all over me and the counter. I got more than a little concerned (remember, this was supposed to be my husband's b-day cake) when there was some serious lumpage going on in the mixer. Thankfully, my trusty Kitchenaid kicked those bad boys to the curb:
 |
| Smooth battery goodness. |
I made my next fatal mistake when I decided to throw in 1 cup of applesauce for "extra moistness". Any time you come across that phrase, you know you're in for trouble.
I popped my two cake pans into the oven for 27 minutes, then did the age-old toothpick test to make sure they were done in the center. My toothpick came out nice and clean, because my toothpick was a lying bastard.
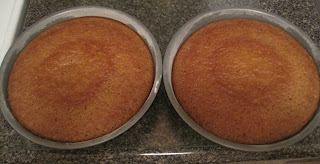 |
| Beautifully baked cakes. OR SO YOU THINK. |
After these came out of the oven, gloriously fragrant and golden brown, I thought I was out of the woods. Hahahahahahaha. Excuse me, had to get that out of my system.
I flipped my cake pans oh-so-carefully over my large wire rack in order to let them cool. The first cake cooperated nicely and plopped out without a struggle. Cake #2 and I had some major disagreements. I finally won, but not before some unavoidable battle wounds:
 |
| Notice the San Andreas fault line in Cake #2. |
You'd think by this point I would have expected the next disaster, but I am naive and always hope for the best. After these were cool to the touch, I tried to flip them off of the rack onto two separate plates to store them overnight until I was ready to frost them.
The horror, I cannot even describe. I didn't even remember to take a picture, I was so verklempt.
Suffice it to say, Cake #1 (my previous buddy) had melded AROUND THE WIRES OF THE RACK. It was like it was clinging for its dear life (which, let's face it, it was). At that moment, I realized that my applesauce experiment had now progressed to Applegate, and was ready to bring the whole project to its knees.
After much wrangling, hair pulling, pleading, and incoherent swearing, I was able to get the two cakes onto plates and put this debacle to rest. The next day, my hubby's actual b-day, I knew I had to face my nemeses again.
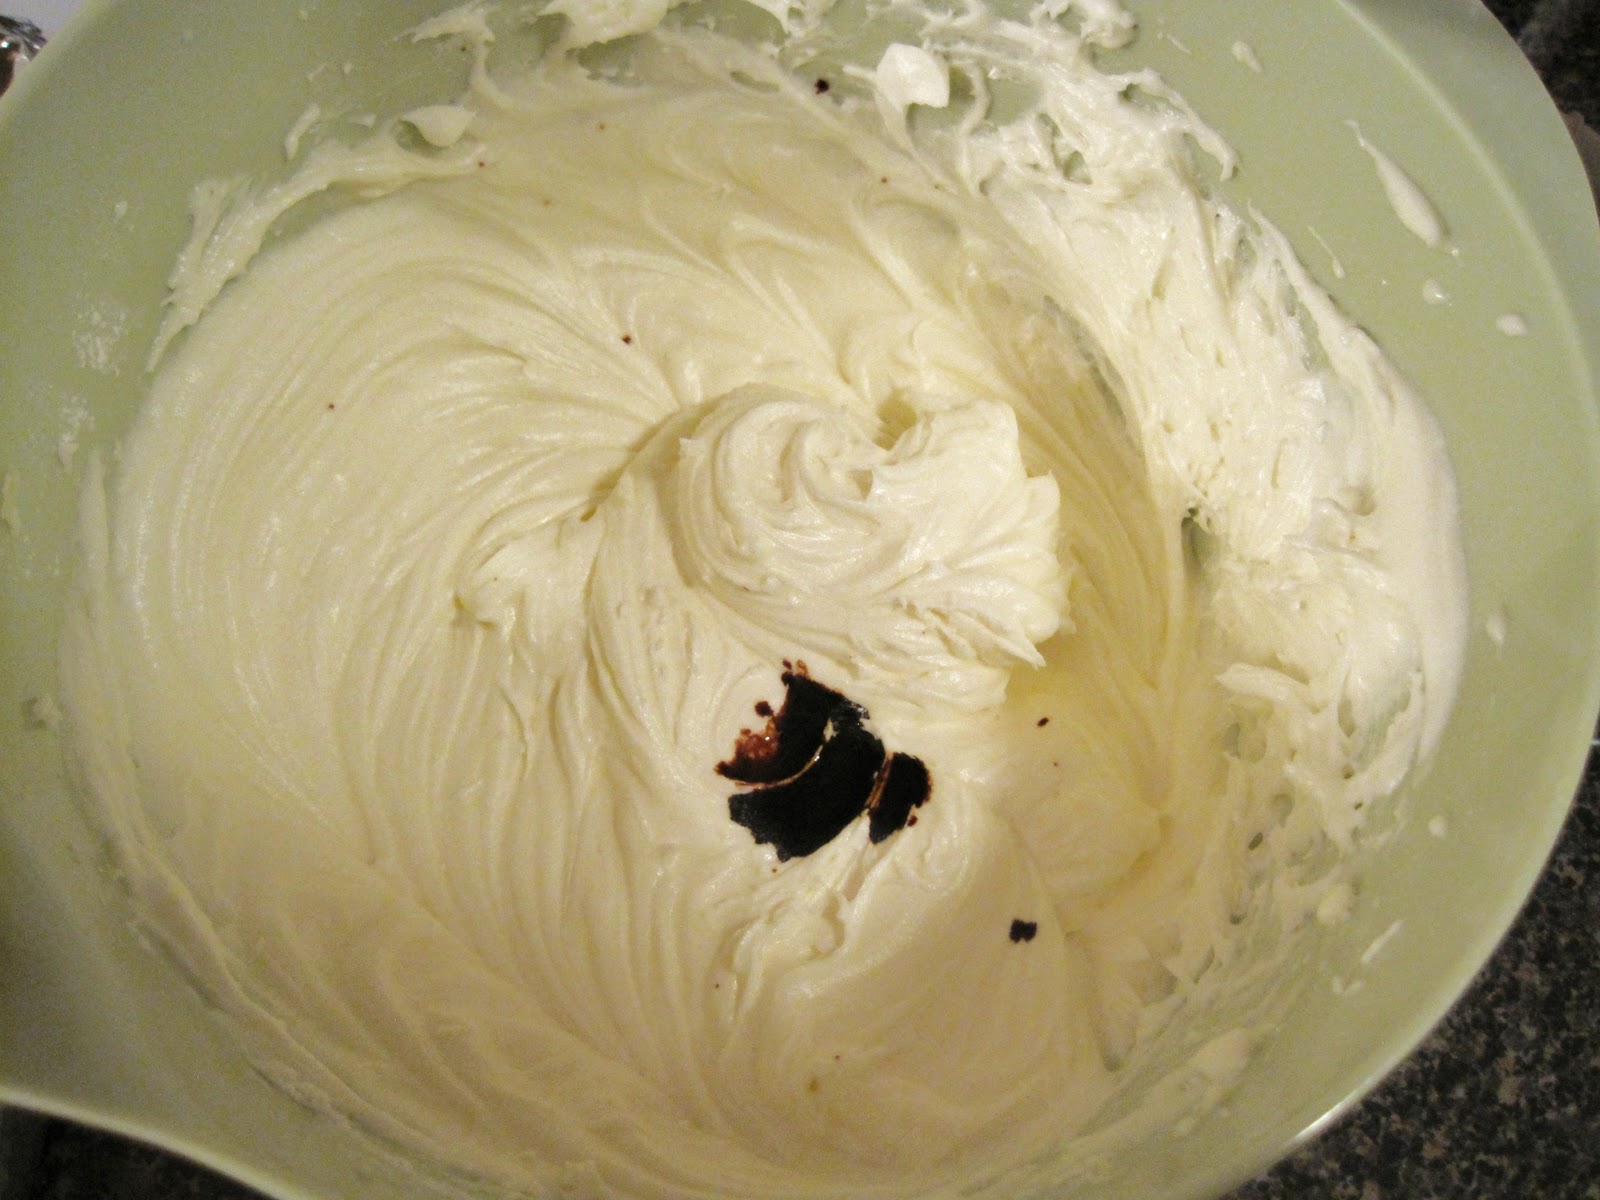
I made the frosting by creaming the butter and SLOWLY adding the confectioner's sugar (I learn from my mistakes).
 |
| Lumpy mashed cauliflower? Nay. This is sweet, sweet buttercream. |
I will admit that I never actually measure my sugar, I just sort of dump it in and eyeball it until I think I have enough frosting, which is usually enough to frost the cake and leave me plenty more to lick off the beaters. Add the milk to thin the butter/sugar mixture, then add the maple extract:
After you blend this together, add sugar until you reach the desired consistency. I will also note that I like a fairly strong maple flavoring, so if this is your first time trying a maple-flavored item, you might want to start with half the volume I suggested and add it to your own taste level.
After all of the mishaps and mayhem, this frosting came out
perfectly. It was light and airy, with a whipped fluffiness that you will never get out of a can. The cake halves, which both magically ended up being perfectly flat, was extremely easy to frost, and for once I didn't end up with heaps of extra frosting.

The cake? Well, it was divine. It came out fairly dense, probably because of the Ingredient-That-Shall-Not-Be-Named, but was tender and moist without being sticky or cloying. This was a spice cake on steroids - all those great fresh spice flavors that are lacking from a boxed mix really pop in your mouth, while the maple frosting is a perfect counterpart by providing enough sweetness to remind you that this is a dessert. I chose not to think about the amount of butter involved, since birthday cakes come from magical unicorns in a land far, far way where things like "calories" and "fat grams" don't exist. This recipe could easily be modified to make it more health-friendly, but when you're likely only eating something once or twice a year - take the plunge. Trust me, it's worth it.
(This is how happy I was once this bake-tastrophe was over, and how happy Eric was to get his cake!)
%5B4%5D.jpg "IMG_20110127_224723 (2)")
%5B4%5D.jpg "IMG_20110127_225109 (2)")
%5B4%5D.jpg "IMG_20110127_225811 (2)")