Showing posts with label CHEESE. Show all posts

Monday, January 10, 2011

I’m baaaack!

Yes, it actually has been over a month since I last put up a post.  I’m sorry, faithful minions. Between Christmas, New Years, a mini-vacation with my hubby, and, oh yeah, TWO major family medical emergencies, I’ve been a bit, shall we say, distracted. Gobsmacked. Cray-cray.  Insert favorite synonym for OHMYGODI’MLOSINGMYMIND here.

But yay, life is finally getting back to a semblance of normalcy! And since I know you’ve missed me so much, I figured I’d put up a quickie (don’t be a perv) to tide you over until my next mammoth post – Thanksgiving stuffing.  And yes, I do realize that was in November, but in my mind there is never a wrong time to make stuffing.

This recipe is one that I found on Allrecipes.com a long time ago when I was searching for a quick and easy appetizer to make for a holiday dinner.  Since then, I make it for most potlucks, church group meetings, dinner parties, etc.  The recipe makes one large casserole dish, and there’s rarely leftovers (even in small groups).

Vidalia Onion Dip

What You’ll Need

  • 2 cups chopped Vidalia onion (about one medium/large onion)
  • 1 cup fat free mayonnaise
  • 2 cups shredded Swiss cheese
  • ½ grated Parmesan cheese
  • 1 tbsp freshly ground black pepper
  • ¼ cup Italian seasoned bread crumbs

**Optional: Hot sauce to taste

IMG_1052

What To Do:

Preheat your oven to 350F. Evenly chop your onion into 1/4 inch cubes. I tend to be impatient and just end up roughly hacking the onion into irregularly shaped pieces, and it still turns out fine.

IMG_1053

In a large mixing bowl, combine the mayonnaise with the onion.  Add the cheese, pepper, and hot sauce (if desired) and mix well (it will be very thick and gloppy).

IMG_1054

Transfer the contents of the bowl into an oven-safe casserole dish.  Smooth out with a spoon so that the dip is evenly distributed.  Lightly cover the entire surface with bread crumbs.  Bake for 35 minutes, or until the bread crumbs are golden brown and the dip is visibly bubbling. Serve with your favorite crackers or flatbreads for dipping.

IMG_1055

I used a grated Parmesan & Romano mixture for the dip in this picture, and I think the additional cheese really brought this to a whole new level.  I think it would be interesting to try using an Italian 4-cheese blend to give it that much more flavor.  I like serving this with the giant Wheat Thins because even after the onions are cooked the dip is chunky and it’s easier to scoop it out with a bigger surface area. The original recipe does not call for bread crumbs, but I like the crunch they give to a dish that would otherwise be fairly mushy.  However, if you want to save the calories, or can’t have the gluten, feel free to omit them. You could also easily adapt this dip by adding some diced scallions, chipotle pepper sauce, etc. Have fun experimenting!

Sunday, November 7, 2010

Homestyle Macaroni & Cheese

As I mentioned in an earlier post, the month of October has been christened Rocktober, thanks to the many birthdays during the month: myself, my husband Eric, and my best friend/guest blogger Molly, among others. Last weekend, Eric and I roadtripped from New Jersey back to my hometown in Connecticut for a mass birthday celebration (we let my uncle, an early November birthday, join in).  Per family tradition, the birthday boy/girl gets to choose their dinner, and I invariably opt for homemade macaroni & cheese. Mac 'n cheese is, without a doubt, my all-time favorite food.  I am a sucker for it in any form - homemade, Kraft blue box, Kraft squeezy cheese, Easy Mac, you name it.  I even liked the crap they served in the dining halls in college.  I have no shame in making this admission, even though it speaks rather poorly of my palate.  Anyways, this recipe is the way my family has been making this my whole life, but this marks the first time it's ever actually been written down.  The method is fairly standard and is likely what you'd find in a cookbook, but I was very excited to finally have the amounts of spices used accurately measured and written down!

Homestyle Macaroni & Cheese
What You'll Need:
1 1/2 lb macaroni elbows
2 lb extremely sharp white cheddar cheese
1 cup shredded Italian cheese blend
1 stick unsalted butter
1 cup white flour
3 cloves minced garlic OR 1 tsp crushed garlic
5-6 cups milk
1 tsp ground black pepper
1/2 tsp ground mustard
1/2 tsp onion powder
1/4 tsp salt

What To Do:
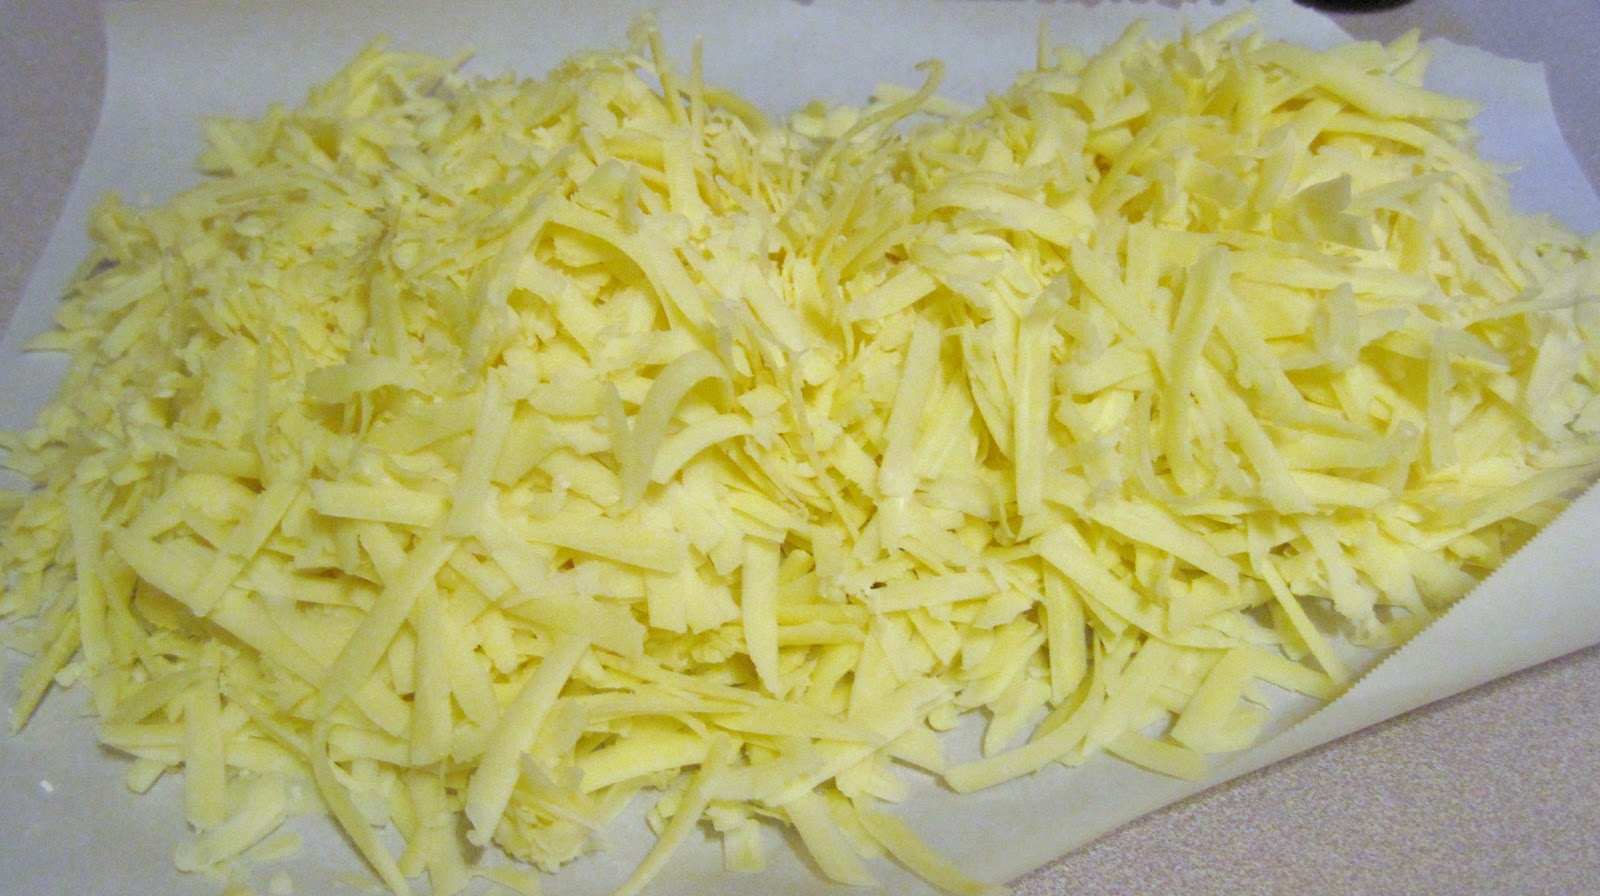
We typically buy the cheddar cheese as a giant block, which then needs to get roughly grated into an enormous pile that just begs for periodic "taste tests".


Start out by precooking the macaroni.  I generally cook the pasta for slightly less time than suggested since it will be baked for quite some time, and I don't want it to get mushy.  After the pasta is cooked, drain it and leave it to the side until the sauce is ready. Turn on the oven to preheat at 350F.

To make the sauce, start out by melting the stick of butter over medium heat. Also, add your minced/crushed garlic so that it will gently saute while the butter is melting.

Try not to think about how much butter this calls for.  IT IS WORTH IT.

After the butter is melted and the garlic has been mixed in, add 2-3 tablespoons of the flour to the pot. 


Immediately begin whisking the flour and butter together so that they form a thick paste, which becomes the basis for the roux sauce.


 Slowly whisk in 1 cup of milk, stirring constantly until it is completely smooth.  The most important part of making this recipe is that you NEVER EVER under any circumstances stop stirring.  Not stirring leads to a burnt, scorched sauce, and that is bad news bears.


A nice, creamy roux sauce.

Keep your heat on low/medium, depending on your stove, so that the sauce is only lightly simmering.  It will continually thicken, so keep adding the remainder of the milk until you reach the volume of sauce that you need.  For this recipe we ended up using between 5 and 6 cups, but this will also depend on whether you are using skim, low-fat, or whole milk.

Add the mustard, pepper, onion powder, and salt to the sauce, and then mix well.  Gradually add one handful of cheese to the pot at a time, waiting to add more cheese until the previous bunch has melted.  Like Dory from Finding Nemo said, "Just keep swimming stirring, just keep stirring..."  Add the remaining cheese except for one handful, which is reserved for the topping.


Taste the sauce to see if the flavor is to your liking.  I realize this is hard to do if it's your first time making it, but it should be sufficiently cheesy (who am I kidding, there's never enough cheese) and should have a sharp tang, thanks to the mustard and pepper.  If necessary, add more of the various spices to your preference.


Spray 2 casserole dishes or oven-safe bowls with non-stick cooking spray and place them on a large cookie sheet (to catch overflow of the sauce while cooking).


Fill each bowl about halfway with the macaroni, then generously cover the pasta with your cheese sauce.


Mix the sauce into the pasta, then add another spoonful or two to each bowl.  It is amazing how much sauce the pasta will suck up.  After it's nice and gooey, add more pasta to each bowl so that they are filled almost to the top level.  Add more sauce to each bowl to the point that it almost looks soupy; while these bake, the pasta will absorb the sauce, and if you don't have enough at the outset, this will come out dry.

Yummmmm.
Lightly cover the tops of each dish with Italian seasoned bread crumbs, then sprinkle the leftover cheddar cheese on top of each.


Bake these for approximately 45 minutes, or until the top is a crispy golden brown.


Full disclosure: this picture was not taken immediately after coming out of the oven.  I actually forgot because I was in such a frenzy to eat and I COULD NOT WAIT.  You'll understand they torture of smelling this cook for almost an hour and the pleasant torture of anticipating hot, melty, gooey, cheesy goodness in your belly.  Thankfully, this recipe makes so much macaroni that we never touched the second dish, so I was able to sneak a picture of this the next day.  We had 7 people for dinner, and each of us had a, shall we say, "healthy" serving, so you can imagine how much food this makes.  You can easily scale this down for 2-4 people but cutting back on the amount of pasta you cook, and using less butter/flour/milk to make your cheese sauce.  I would say that you could use the same amount of cheese no matter what, but that might actually cause a lactose overload. This is an incredibly rich, decadent meal, but as Molly said in her previous birthday cake post, what's the fun in having a birthday if you can't indulge? That being said, when I make this I usually use skim milk, light cheese, and margarine instead of butter.  Feel free to experiment with the cheeses you use and the spices you add - no matter what, nothing beats macaroni & cheese!

Tuesday, October 26, 2010

Chicken, Broccoli & Cheddar Casserole with Stuffed Peppers

Thanks to all of the October birthdays among my friends and family (seriously - we've decided to call it Rocktober because there's so many of us, and we're all so awesome), there has been and will continue to be a glut of dessert-themed posts this month.  As such, I decided to post these two dishes before some of the others I have waiting in the wings. It's been a bit of a rough week, and whenever I need to feel better, I know I can turn to the wise, wise words of The Beatles:

"When I find myself in times of trouble,
Mother Mary sings to me.
Speaking words of wisdom,
Let it be CHEESE."

LET IT CHEESE, LET IT CHEESE!
Chicken, Broccoli & Cheddar Casserole with Stuffed Peppers
What You'll Need:
-Chicken Casserole:
2 boneless, skinless chicken breasts cut into 1" cubes
3 small heads of broccoli cut into florets
1 small or 1/2 of a medium white onion, cut into strips
2 cans 98% Fat Free Campbell's Condensed Cheddar Cheese Soup
2/3 cup skim milk
Salt and pepper to taste

-Stuffed Peppers:
2 green bell peppers
1/4 cup rice (I used jasmine rice)
3/4 cup water
1/2 medium white onion, diced
3 celery stalks, diced
4 cloves garlic, minced
1-1 1/2 cups medium chunky salsa
1/2 cup Mexican or Taco shredded cheese
2 tsp fresh ground black pepper
1/2 tsp salt
1/2 tsp cumin
1 tbsp olive oil

What To Do:
The peppers have to bake in the oven for awhile, so I started with those.


Preheat the oven to 400F. Cut off the tops of peppers, retaining the usable parts.  De-seed the insides, cut the peppers in half, and remove any of the white veins. Place the peppers in an oven-safe baking dish.


Heat the rice in the 3/4 cup water until it reaches a boil; lower the heat and simmer for 15 minutes uncovered.  While the rice is cooking, chop the celery, onion, garlic, and the remains of the pepper tops.


Heat a saute pan with the olive oil on medium heat; cook the veggies for 3-5 minutes or until they are slightly softened.


At this point, the rice should be finished cooking on its own - the water should be fully absorbed.  Transfer the rice to the saute pan, then add the salsa.  Season with the cumin, salt, and pepper.  Cook for 3 minutes.


Spoon the mixture into the peppers - mine had just enough room for all of the filling. Bake for 45 minutes.


Remove the dish from the oven, then cover the peppers with the cheese.  Return to the oven for 3-5 minutes or until the cheese is melted.

Cheeeeeeeeese.
While the peppers were baking, I got to work on the main dish, the chicken casserole.  This was mostly born out of what I had in my cabinets and what veggies were laying around.  I trimmed the fat from my chicken breasts, cut them into approximately 1" cubes, then sauteed them in a hot skillet with 1 tbsp of olive oil.


While the chicken was cooking, I chopped the stalks off the broccoli and roughly chopped the onion.


After I was sure the chicken was fully cooked, I dumped all the veggies into the skillet.  I then had to transfer everything to my giant skillet, because apparently I never learn. Cover the pan and let the veggies steam for about 2 minutes. Mix the condensed soup and the milk in a separate bowl, then add to the skillet, tossing the contents to coat everything.


Since this would be pretty bland on its own, I gave this a liberal dousing with black pepper and a little bit of salt, both of which livened things up considerably.  From start to finish, this part takes about 25 minutes, so if you're making this along with the stuffed peppers, I recommend starting about halfway through the peppers' bake time.

Miraculously, mine finished at almost the exact same time, so I was able to photograph and eat everything while it was still hot!


This was exactly what I was hoping for - melty, cheesy goodness with a little bit of kick, courtesy of the salsa in the peppers.  There was more than enough for 4 servings, so this would be a good dinner for a family, and it also reheats well for those singles or couples out there. You could also make the casserole on its own and serve it with a side of rice or mashed potatoes if you don't want to try both at once!

On a side note, stuffed peppers are usually made with a meat-based filling coated with a tomato sauce.  I had tomato sauce on hand, but I didn't feel like opening a new jar for the little bit I'd need, hence the salsa.  I almost liked this better because it had a bolder flavor, but it does give the dish a decidedly Mexican flavor.  If you prefer a more traditional stuffed pepper, use ground beef, turkey, or veggie protein crumbles to give these some more substance, and use Italian spices (oregano, thyme, parsley, etc.) for flavoring.  Enjoy!