Showing posts with label apples. Show all posts

Tuesday, October 19, 2010

Cranberry, Pear, and Apple Crumble


Crumble Topping:
3/4 cup all purpose flour
3/4 cup light brown sugar (here I use Splenda brown sugar)
1/2 teaspoon ground cinnamon
1/4 teaspoon salt
3/4 cup old-fashioned rolled oats (I used steel cut oats which I like for a harder texture)
1/3 cup chopped walnuts or pecans
1/2 cup cold unsalted butter, cut into pieces

Filling:
2-3 tablespoons light brown sugar (here I use Splenda brown sugar)
1/2 tablespoon cornstarch (corn flour)
1 1/2 pounds Granny Smith Apples or other firm, tart-tasting apple - peeled, cored, and sliced into 1’’x3’’
1 1/2 pounds ripe Bartlett or Anjou Pears, peeled, cored and sliced into 1’’x3’’
1/2 cup dried cranberries


Hellllloooo!! I’ve been meaning to make an appl-ie treat for some time since I’ve gone apple picking with my gal-pal, Katia. Because I’m a terribly lazy person/the men in my life have not been around the Princeton area for the last week, I’ve delayed making this because I can’t be eating entire baked treats by myself. Luckily apples and pears do not have a short shelf life (thank you God). Now, just to preface, I am recently moved out of my parent’s house (once again thank you God) and don’t have a ton of the kitchen toys that I really which I had … so I also get to show my college-student derived cooking Macgyver skills.

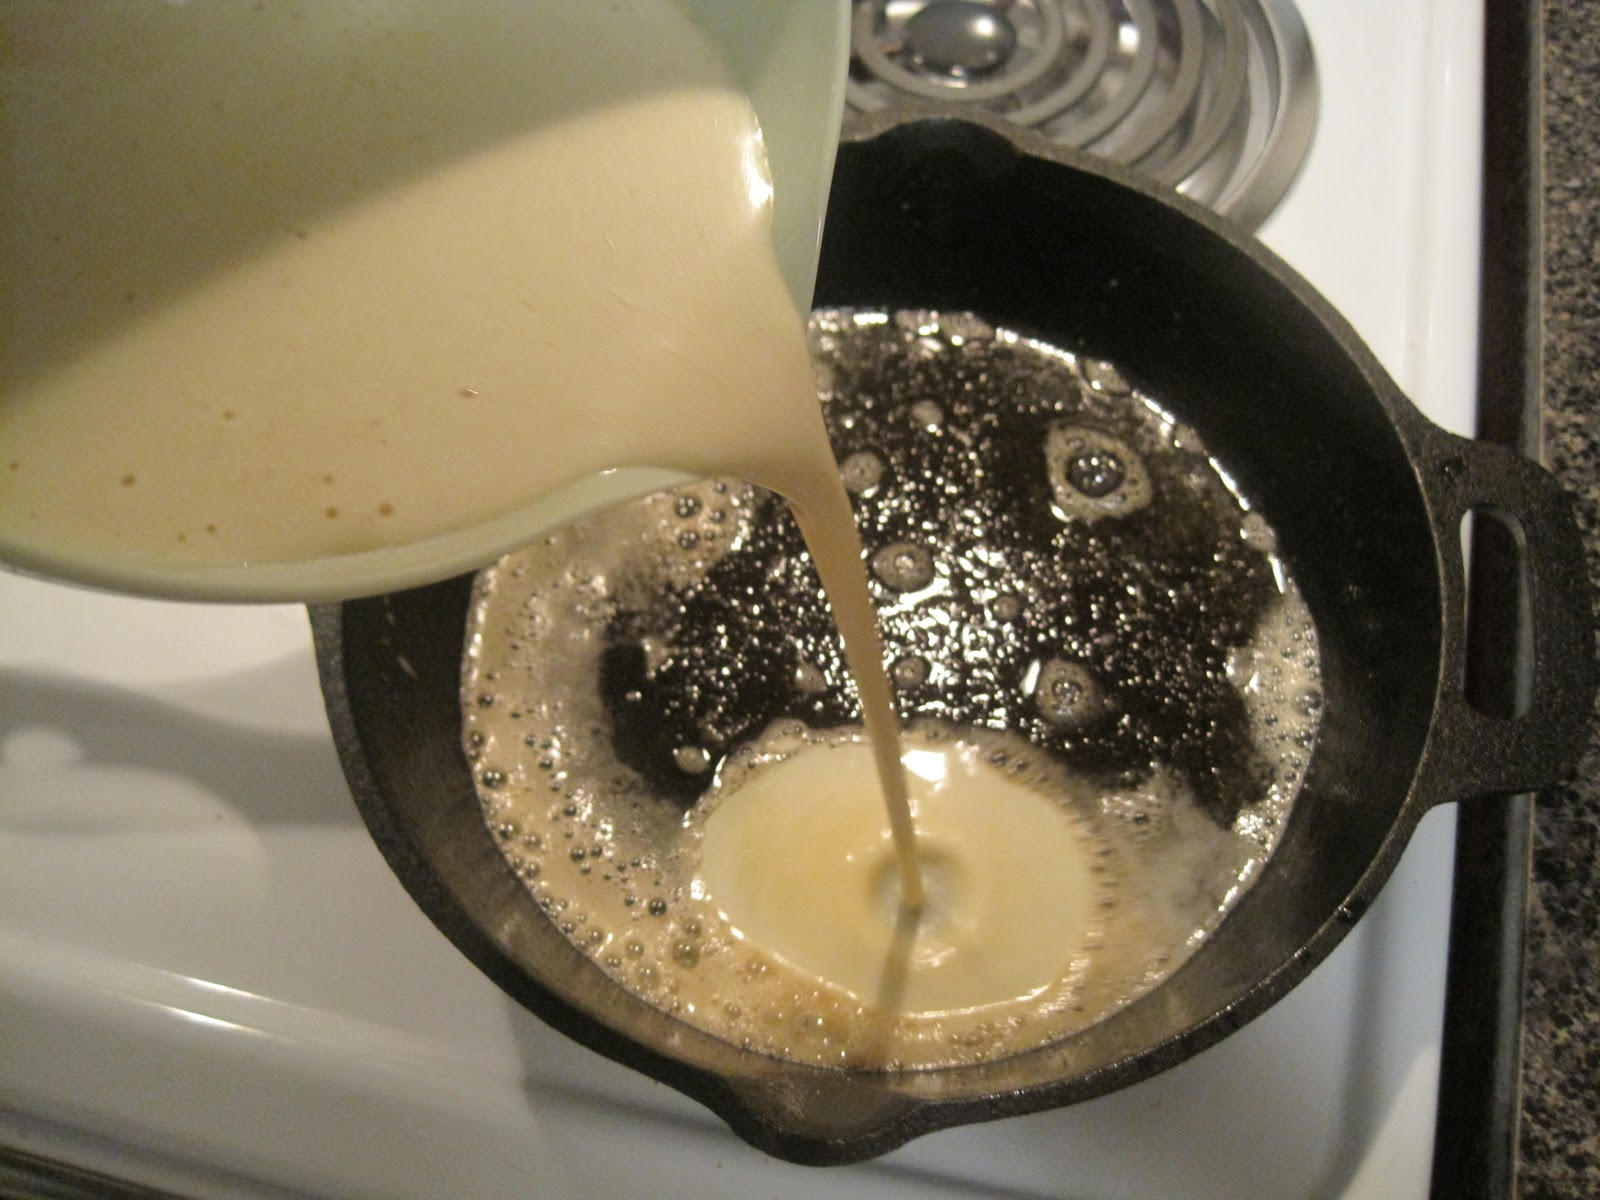
So first thing's first ... ALWAYS PREHEAT THE OVEN ... it's sorta my OCD thing ... to 375 degrees (F for all you metric people out there) and put a healthy coating of cooking spray on your pan. I used a small shallow alminum pan, probably about 12 inches in diameter because I didn't have anything else and it worked out fine ... deeper pans might be nicer, but this is totally functional. 

 Next I started working on the crumble topping. So the recipe (taken from http://www.joyofbaking.com under the apple section) basically instructs to combine all the crumble ingredients to a food processer until the clumps are the size of peas. now, I do not have these fancy things so I used my day's frustration from my crappy job to help me along the way ... using my might!

So I measured out the walnuts (I snuck in another handful cause I like walnuts or in Lebanese dialect “joz”) and I crushed them using my wooden spoon. (I don’t know if it’s in my old-world Italian DNA to feel I need to have a wooden utensil while cooking, but nonetheless, it worked pretty well.)
SMASH!!!
... and added it to my big metal mixing bowl (which is my only one, you'll see how I Macgyver my way out of that one later...)
The next issue is the butter, food processors will mix that stuff together fairly well, however, I tried to cut the stick of butter as small as I could as to make my life easier when I was mixing with my antiquated wooden spoon.
.... and I added that and attemped mixing ... violently. 
Now I had some difficulty getting everything "pea sized" --- mostly the butter was the thing that gave me the biggest issue so I pulled the butter apart with my fingers until I could judge that it was "good enough" by my novice standards.

 
Set this aside and start working on the filling...
So as I alluded to before, my day was ... let's say rage-filled and I took it out on unsuspecting apples and pears .... 
FEEL MY FURY!
I then sliced 3 apples and 3 pears with a knife miraculously avoiding any spilling of my blood (I'm not terribly competent with knives...) with a bit of help from my roomate, Anthony.


Being that I only have one mixing bowl, which was occupied by the crumbly topping for this deliciousness, I had to use my roomate's old camping cook-out pot which looks rustic at best ... but once again, it worked. I then added the sugar and 2 tablespoons of all purpose flour because I didn't have any cornstarch (Google told me it was a suitable substitution, and I don't argue with master Google) and mixed in the apples, pears, and crasins.
 
Somehow the apple-pear mixture fit into the pan .... WIN!
 
and I was able to pack in all of the topping using my fingers .... DOUBLE WIN!
 
I baked this crumbly beast for about 35 minutes (or until the topping had browned a bit and all the butter was melted)
 
... and served!
 

Now, I would classify this as a win. It tasted great, although it would be even better with a scoop of vanilla ice cream on top of its warm gooey goodness. This recipe, in addition to being delicious is also rather guilt-free. There's no real bottom crust, just a lovely pile of seasonal fruits with brown sugar splenda to sweeten. So I encourage you all to make and eat ... GUILT FREE and don't be afraid to play a little jazz in the kitchen when things go a little wonky ;).
Enjoy!

Sunday, October 10, 2010

Ooh Baby Baby!


It was a sad, sad day in our household when the last crumbs and morsels of the Maple Apple Crisp were finally polished off.  I still had about 3 lbs of apples left over from my trip to the orchard which were begging to be put to good use.  I could have taken the healthy, responsible route and paired these with a nice pork loin, or chopped them up as a salad garnish, but where's the fun in that?!  Instead, I decided to put them together with some (in my mind) far superior ingredients - butter, brown sugar, and eggs.  Cholesterol fest, here we come!

In all reality, this recipe is not as bad for you as I'm making it sound.  The main dish combines a few eggs, some flour, and a little butter for a light and airy savory pie.  I decided to top mine with some Fuji apples (although you could really use any type) sauteed in a little butter and brown sugar. Yet again, I came up with this from an amalgamation of several similar recipes from Allrecipes.com.  For some reason, I keep referring to this as a "Dutch Baby", even though it's a German recipe and quite clearly called a "German Baby" on the recipe.  Oy.  

German Baby
What You'll Need:
Pie:
3 eggs
3/4 cup milk
3/4 cup all-purpose flour
1/2 tsp vanilla extract
1 pinch nutmeg
2 tbsp unsalted butter


Topping:
2 apples, peeled, cored and sliced
2 tbs
2 tbsp unsalted butter
1/4-1/2 cup brown sugar

What To Do:
Preheat your oven to 400F with a cast-iron skillet (or other oven-safe skillet) inside. Place the 3 eggs in a bowl of hot tap water for 5 minutes to help bring them up to room temperature.  Warm your milk in the microwave for 50 seconds on high. Beat the eggs on high speed with an electric mixer.  While blending, slowly drizzle in your milk and the flour.  Add the nutmeg and vanilla. Beat for 2 minutes, or until you have a thin batter. 


As soon as the oven is preheated, carefully remove the skillet from the oven. Trust me - it will be really fricking HOT. (Yes, I know...it's been in an oven for 10 minutes at 400F, and it's metal, of course it's going to be hot!  Tell that to my apparent lack of common sense and burned fingers.)  Add the butter, which will sizzle and smell amazing, and rotate the skillet so that all surfaces are coated. Slowly pour in your batter, which will instantly start to cook on the bottom, forming an eggy barrier between the batter and skillet.


Bake for 15-20 minutes, or until you see eggs have "poofed" like a souffle and are golden brown on top.  I'll show you what mine looked like as we go along.

While the eggs are baking, prepare your apples to be cooked.  My best friend (and future guest blogger!) Molly's mom gave me an awesome gizmo called The Apple Machine which does the peeling and coring for you:

It kind of looks like a Medieval torture device...

...but it makes pretty swirly ribbons of apple peel...
...and it does it in seconds!

Meanwhile, heat a skillet or frying pan on medium heat and add the butter.  Once the butter is melted and starting to bubble, add the brown sugar and stir until melted.  I added a few splashes of water to mine so that I would have a thinner syrup.  Bring this to a vigorous boil, then reduce the heat to a steady simmer. Add the apples to the caramelizing sugar and saute for about 5-10 minutes, or until soft to the touch. 


At this point, my German Baby was slowly rising and creeping over the edge of my skillet, resembling the Giant Blob or some other Japanese monster:


I was a little concerned because the recipe said this would rise like a souffle, which mine definitely did NOT resemble at first. I am clearly a skeptical creature, because after 5 or so more minutes, it did exactly what it was supposed to (oh me of little faith). I waited until it was about to balloon into the baking rack above it before taking it out, although half of the pie (I'm still not sure what to call this) was relatively flat. Once out of the oven, it will quickly collapse until it slightly concave and looks like a normal pie.


I served this immediately with the apples on top and a little of the syrup drizzled all over, and topped it off with a few sprinkles of confectioner's sugar.


I have to admit that while I was super excited to eat these apples (they smelled and tasted just like the ones you can get at Cracker Barrel! Don't judge - they have yummy food), I was wary of what the actual pie would taste like.  When I originally read the recipe I expected it to have a cake-like consistency, but as soon as I put it in the oven I was concerned that it would end up being an omelet with apples on top - ew. I am happy to admit that I was very wrong - this was definitely a different style of dish than I'm used to, but my husband and I both loved it!  There is a very obvious egg texture to this, but thanks to the milk and flour there is no resemblance to scrambled eggs in favor of a custard.  Even though this sounds like a dessert, it is traditionally eaten for breakfast or lunch.  The sweetness of the apples balanced the richness of the pie, but even after a healthy serving I wasn't overly full or stuffed feeling.  This would be a perfect addition to a Sunday brunch or as a light afternoon meal.  I plan on eating my leftovers for breakfast this week, even though there won't be enough apples for 5 more days.  This would also be delicious with a drizzle of maple syrup (told you I loved the stuff) or with fresh fruit sliced on top. 

If any of you decide to make this, please let me know how it turns out!  I'd love to see if anyone else gets to see some interesting bubbles and shapes like I did!

Thursday, October 7, 2010

Maple Apple Crisp


Last weekend brought some glorious fall weather, as well as the first signs of the seasonal color changes in the trees that makes this part of the country so gorgeous at this time of year.  My friend Allison (a future guest-blogger!) and I were boyfriend/husbandless for the day, so we enjoyed some girl-time while picking apples at a nearby orchard. 

                                              Photo credit: www.terhuneorchards.com

First off, we stopped at the market/general store area for a wine tasting.  There were all tasty, but not spectacular, but for $5 it was well worth it!  After that I had to indulge my craving for their amazing apple cider cinnamon & sugar donuts, fresh out of the oven.  I'm drooling just thinking about it. 


ANYWAYS. This was all a long way of explaining the inspiration for this post's recipe, Maple Apple Crisp.  I picked close to 5 lbs of Granny Smith and Fuji apples, both of which are perfect for baking.  I grew up loving my family's apple crisp recipe, but since I'm a sucker for anything maple-y, I couldn't resist working it in here. 

Without further ado:


Maple Apple Crisp
What You'll Need:
5 apples, peeled, cored, and sliced into small chunks
3/4 cup maple syrup (I used sugar-free to cut calories)
1/2 cup baking flour
3/4 cup rolled oats
1/2 cup + 2 tbsp brown sugar
1/4 cup unsalted butter, very softened
1/2 tsp nutmeg
1/2 tsp cinnamon
1 pinch salt


What To Do:
Preheat your oven to 375F.  Peel, core, and slice the apples, then place them into an 8x8" (or comparably sized) ungreased baking dish.  Pour the maple syrup over the apples, then toss them to coat all sides evenly. In a separate bowl, mix the flour, brown sugar, oats, butter, salt, cinnamon, and nutmeg.  Sprinkle the mixture over apples.  Crumble the extra 2 tbsp of brown sugar over the rest of the topping so that it will melt while baking. Bake for 35 min or until the topping is golden brown.  Serve warm with vanilla ice cream or whipped cream.  Serves 8-9, depending on how large you cut the slices (and how much willpower you have to resist the temptation of a midnight snack).


For me, this is close to the perfect dessert.  The tartness of the Granny Smith apples blends well with the sweetness of the syrup and the topping.  I'm glad I used the sugar-free syrup, since I think this might have verged on too sweet if made with regular syrup. I accidentally left this in the oven for an extra 4-5 minutes, so the apples got rather soft, but the crunch from the toasted oats on top balanced it out.  This is an extremely easy recipe to make (10 minutes prep, max) and, best of all, you won't feel guilty going back for seconds!